TL;DR
- Create empty visual C++ project
- Copy the code
- Add MuJoCo Header files via VCC++ Directories -> Include Directories (make sure the set the platform to x64)
- Add Library Directories of Mujoco installation ("bin" directory) via Linker -> Input -> Additional Library Directories.
- Add the library names (glfw3.lib, mujoco200.lib... etc.) via Linker -> General -> Additional Dependencies
- Compile
- Put the resulting exe into the bin dir of the MuJoCo installation
Create the project
Open Visual Studio File -> New -> Project -> Visual C++ -> Empty Project

Write the Code
stackoverflowMuJoCo -> Source Files -> Add New Item -> C++ File (I called it "main.cpp" but it shouldn't matter)
Copy the code from hello.c into main.cpp
#include "mujoco.h"
#include "stdio.h"

char error[1000];
mjModel* m;
mjData* d;

int main(void)
{
   // activate MuJoCo
   mj_activate("mjkey.txt");

   // load model from file and check for errors
   m = mj_loadXML("../model/hello.xml", NULL, error, 1000);
   if( !m )
   {
      printf("%s\n", error);
      return 1;
   }

   // make data corresponding to model
   d = mj_makeData(m);

   // run simulation for 10 seconds
   while( d->time<10 )
      mj_step(m, d);

   // free model and data, deactivate
   mj_deleteData(d);
   mj_deleteModel(m);
   mj_deactivate();

   return 0;
}
*note i downloaded it before deepmind took over it so I still need to use the mj_activate call but you can just ignore it.
Also i change the path to hello.xml because later i am going to copy the executable into the bin dir of the MuJoCo installation(see below)
Add the header files
- Right Click on the Project -> Properties
- Change Configuration from whatever is selected (most likely Debug/x86) to "All Configurations" and set the Platform to x64*
- VCC++ Directories -> Include Directories
- Add the include directories of your MuJoCo installation "mujoco200_win64\mujoco200_win64\include" (should be a path like this)
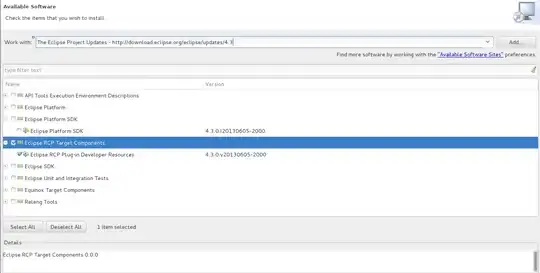
*this makes sure you don't have to repeat the whole process for every configuration.
VSCode has underlined #include "mujoco.h" in red inside hello.c
This should now be gone.
Add the libraries
- Right Click on the Project -> Properties
- Configuration Properties -> Linker -> Input -> Additional Dependencies
- Enter the names of the .lib files located in your "installation" of MuJoCo

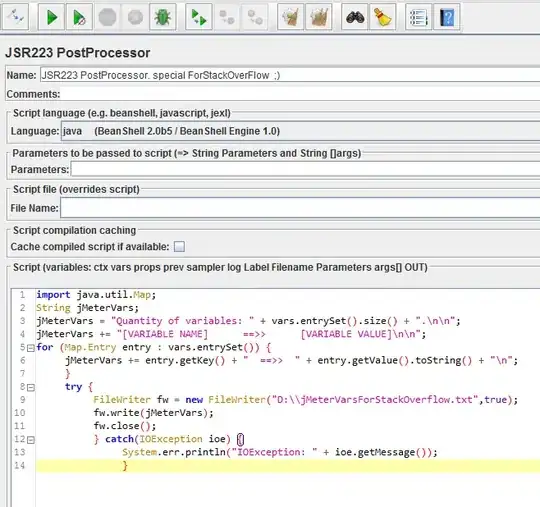
- Linker -> General -> Additonal Library Directories add the "mujoco200_win64\mujoco200_win64\bin" directory
The compilation should now succeed but the execution will probably fail
Execution and Debugging
At this stage the execution will probably fail with the following errors message.
To solve this you can just copy the outputed exe file stackoverflowMuJoCo\x64\Release\stackOverflowMuJoCo.exe into the bin directory of your MuJoCo installation.
This will make sure it can find the required dll's.
If you want to be able to debug: manually copy all the dll files into the "stackoverflowMuJoCo\x64\Debug" directory.
Warning
The code from the hello world example is passive simulation this means you won't see anything on the screen.
If you want to see something replace the code with this: https://github.com/atabakd/MuJoCo-Tutorials/blob/master/src/0_preliminaries/pd.cpp and add the invertedPendulum.xml to the models directory.
Some notes
There is probably a better/easier workflow but right now I just tried to get it to work. Also I used a different version of MuJoCo than you but it should basically work the same way (except for the activation stuff).


