19

I'm applying a blur effect to an image in WPF like so:

<Image ClipToBounds="True">
    <Image.Effect>
        <BlurEffect Radius="100" KernelType="Gaussian" RenderingBias="Performance" />
    </Image.Effect>
</Image>

As you can see, the radius is large, because the image is large and I need it to be really blurry. However, for a radius that large I'm getting a light frame around my image as seen in the attached image. How can I suppress this?

In case you're wondering: The result is the same not matter the RenderingBias. A border is also produced in quality-mode.

White border around image

H.B.
  • 166,899
  • 29
  • 327
  • 400
Thorsten Dittmar
  • 55,956
  • 8
  • 91
  • 139

3 Answers3

10

What's happening is the result of a blur together with the ClipToBounds. Since you're using a Gaussian blur, the edges are going to naturally blend into the background (white).

Applying ClipToBounds basically cuts off where it would otherwise have been blending into the white, hence why you get a white frame.

Unless you're willing to clip the image even more, unfortunately this is just how blurs work.

Screenshot of cliptobounds

LongZheng
  • 1,873
  • 17
  • 18
  • That's what I thought - so: is there another way of blurring the image so that it doesn't fade like that? For example: When I use Paint.NET to apply the Gaussian Blur filter to the image using a radius of 100, I don't see that border. – Thorsten Dittmar Jun 04 '11 at 21:35
  • WPF only supports Gaussian Blur and Box Blur (which is worse). The only workaround is if you remove ClipToBounds, since it should lead to a more naturally look. – LongZheng Jun 05 '11 at 11:12
  • Hm. Is there anything I can do in code? What I want to do is: take the source image, created a blurred version and blend them together using an opacity mask. – Thorsten Dittmar Jun 05 '11 at 11:39
  • I guess you could place it behind the blurred image to reduce the white effect. I don't think you'll need an opacity mask since the blurred parts will have partial opacity. – LongZheng Jun 05 '11 at 15:24
3

Before blurring, You can pad the image using the pixels from the image border. By doing that you can assure that the blurred pixels around the border will be blurred using pixels of similar color and the whitish border will be gone. Of course, after blurring crop the image back to its original size.

Gilad
  • 2,876
  • 5
  • 29
  • 40
0

I Found a way around this issue. 
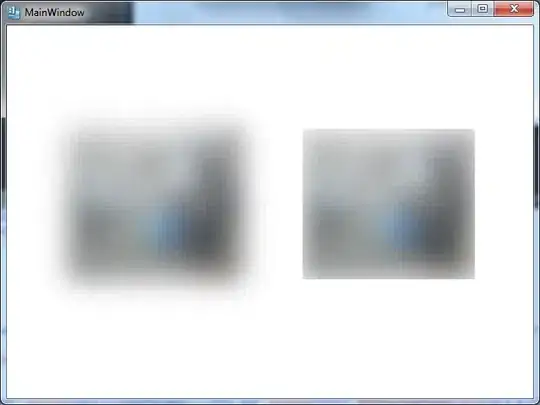
My goal was to have a small image unstreched in the center of a control and the background to be filled with a streched blurry version of itself to fill the void.

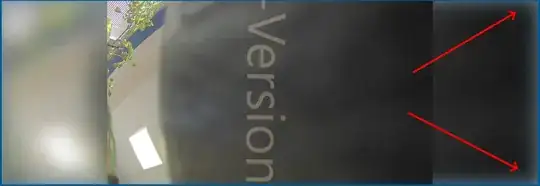
With the following XAML I had the same issue with the corners of the image turning white like this:

<Image ClipToBounds="True" Source="{Binding VideoDecoder.LiveImage}" Stretch="Fill">
    <Image.Effect >
        <BlurEffect Radius="100" RenderingBias="Performance" />
    </Image.Effect>
</Image>

enter image description here

I replaced the image with a grid and used a visual brush for the background which gives a little more flexibility than the image. Please note that setting the viebox of the visual brush like this removes the white fading but also cuts of part of the image, in my application however this was accetable:

<Grid>
    <Grid.Background>
        <VisualBrush Viewbox="0.06,0.1,0.85,0.81">
            <VisualBrush.Visual>
                <Image Source="{Binding VideoDecoder.LiveImage}">
                    <Image.BitmapEffect>
                        <BlurBitmapEffect KernelType="Gaussian" RenderOptions.BitmapScalingMode="LowQuality" RenderOptions.EdgeMode="Unspecified"  Radius="100"/>
                    </Image.BitmapEffect>
                </Image>
            </VisualBrush.Visual>
        </VisualBrush>
    </Grid.Background>
</Grid>

enter image description here

Denis Schaf
  • 2,478
  • 1
  • 8
  • 17