Have just figured this out myself after struggling with it for about 2 days.
I host around 70 different .NET CORE sites in IIS behind a single instance of Application Gateway, and recently had a request for IP Based Restrictions on just one of them. I've figured out how to make this work!
Essentially, it makes use of the 'Enable Proxy Mode' feature, which causes the IP Address and Domain Restrictions feature to look at the contents of the X-Forwarded-For header which with IIS should contain the
So here it is step by step.....
1. Logging
First of all, its useful to make a few changes to Application Gateway and IIS to enable us to log and see the contents of the X-Forwarded-For header.
In IIS Manager:
- On server, site or application level, double click “Logging”
- Click “Select Fields“
- In “W3C Logging Fields” window, click “Add Field“
- In the “Add Custom Field” window, fill out the following fields
- Field Name: X-Forwarded-For, Source type: Request Header, Source: X-Forwarded-For
- Click “OK” in both open windows
- Click “Apply” in the actions pane
In Application Gateway:
- Open the Azure Portal
- Browse to your Application Gateway Instance
- Click on the "Rewrites" blade
- Click the "+ Rewrite set" button
- Set the "Name" to "X-Forwarded-For"
- Select the Routing Rules you want to associate this with (the rules for the site you to restrict at minimum, but should be no hard selecting ALL rules)
- Click "Next"
- Click the "+ Add Rewrite Rule" button, then the "Do - Click to Configure this Action" box
- Set "Rewrite Type" = "Request Header", "Action Type" ="Set". "Header Name" ="Common Header", "Common Header" = "X-Forwarded-For" and "Header Value" = "{var_add_x_forwarded_for_proxy}"
- Click "OK" and "Create" to save the rewrite rule

Next time the IIS Log file rolls over (or just rename/delete the current logfile), it should now include the contents of the X-Forwarded-For header passed by Application gateway, this can be very helpful for for logging and debugging later on.
2. Configure IIS IP and Domain Restrictions
Now we can start to setup the IP and Domain restrictions setting in IIS. If you haven't already, install the IIS Domain and IP Resections module as described here.
In IIS Manager:
- On server, site or application level, double click “IP Address and Domain Restrictions”
- Click the "Edit Feature Settings" option in the "Actions" pane
- Set "Access for unspecified clients" = "Deny", "Enable Proxy Mode" = Ticked, "Deny Action Type" = "Forbidden" (or whatever else you want, this part doesn't matter so much).
- Click 'OK' to save.
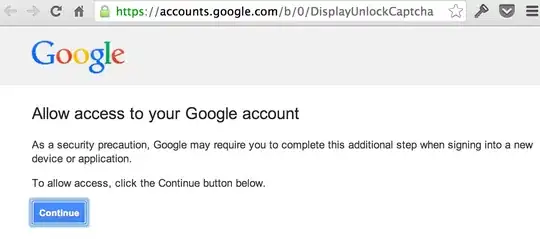
- In the Actions pane, click "Add Allow Entry"
(The following is the magic undocumented part needed to make it work......)
- Add the the IP Address Range from the Address Space of you Application Gateway Virtual Network. Click "Ok" to Save.
- Repeat Step 5 and 6 with the address space for the Peered Virtual Network that you IIS server sits on:
- Finally, repeat steps 5. and 6. and add in the specific client IP addresses you wish to whitelist/allow, you should end up with an allow list the looks something like the following:

Note that my list has separate "Allow" entries for our office IP address, the clients office IP Address(es), as well as IP Address ranges of the servers for the PRTG Cloud Monitoring solution we use on these VMs.
Test, and hopefully it works! Good Luck!
