-1

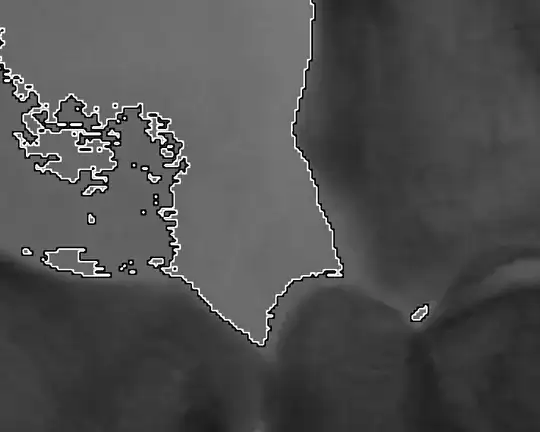
I am trying to crop an image starting from top-right and cut out a 48x48 box. This is the image I'm working with

enter image description here

I've tried this

in.png -gravity northeast -crop 48x48 out.png

out-0.png enter image description here out-1.png enter image description here out-2.pngenter image description here out-3.png enter image description here

Which creates like 4 files, none of which are what I want. When I add x and y values (which I don't want to), it crops from the northeast correctly with only 1 output image, but the box is not 48x48, its 46x38

in.png -gravity northeast -crop 48x48+0+0 out.png

out.png
enter image description here

This gives different outputs for different images. I just tried another and ended up with a 33x48 output.

I need to use the gravity setting instead of the x and y offsets because I'm batch processing a lot of images that are different sizes.

This is the desired output

enter image description here

Can someone please explain to me what I'm doing wrong? Thanks!
Vadim Kotov
  • 8,084
  • 8
  • 48
  • 62
knuxyl
  • 129
  • 3
  • 12
  • "which I don't want to" You can not just leave code out; it is there for a reason. In this case if you leave it out as you have found you get a tiled image. Anyway this works for me although I am using V7 magick NIhVX.png -gravity northeast -crop 48x48+0+0 out.png What version are you using? You might have a canvas problem and could try adding +repage after the input image. – Bonzo Jul 03 '17 at 08:59
  • It's not working for me, even with +repage. And I just meant I don't want to use offsets because they would probably be different for each image. This is the IM version I'm using ImageMagick 6.8.9-9 Q16 x86_64 2017-05-26 – knuxyl Jul 03 '17 at 09:07
  • I found out the image had transparency on the top which I thought was accounting for the wrong output sizes but it's not. I trimmed the image and ran the same command and it still doesn't do it right. – knuxyl Jul 03 '17 at 09:39
  • I found out that even after the image has been trimmed to a new image, convert will still somehow see the transparent pixels that were trimmed and crop accordingly. I even ran the trimmed image through optipng to get a fresh image but it is still somehow seeing the original transparent pixels. wth... I can get this command to work if I first convert the trimmed image to .bmp, run crop on the bmp and then output back to png. Weird. – knuxyl Jul 03 '17 at 09:42
  • Works fine on v7.0.9. – Mark Setchell Jul 03 '17 at 12:14
  • I can't reproduce the problem. I get a 48x48 output with IM-7.0.6-0 and IM-6.9.6-5, and IM-6.8.9-9. The latter output contains the PNG oFFs chunk while the more recent versions contain a caNv chunk instead. As @GeeMack observed, you can get rid of the oFFs chunk by using the +repage option at the end. It's possible that the oFFs chunk interferes with your later processing. – Glenn Randers-Pehrson Jul 03 '17 at 14:50
  • @MarkSetchell there's no v7.0.9 yet. Perhaps you mean 7.0.5-9 – Glenn Randers-Pehrson Jul 03 '17 at 20:25
  • @GlennRanders-Pehrson Yes, sorry, 7.0.5-9 – Mark Setchell Jul 03 '17 at 20:54
  • Yeah it was the because I didn't use +repage – knuxyl Jul 04 '17 at 01:03

1 Answers1

2

If your input image has paging information, the result of your crop may not be what you expect. When working with unknown images, you might do a "+repage" right after reading in the image. Also, when you "-trim" an image, the paging information from the original image remains. The "-crop" will use that paging information instead of the actual height and width, so "+repage" after a "-trim" unless you know you'll need that information. Try this...

convert inimage.png -trim +repage -gravity northeast -crop 48x48+0+0 outimage.png

You should also use "+repage" after any crops if you intend to continue processing the images.

GeeMack
  • 4,486
  • 1
  • 7
  • 10