How to install JAVA ME SDK 3.4
- Click the Accept License Agreement option.
- Create an Account or login
- Download the Java ME SDK installer file and save it to any location on your computer.
- Double-click the installer file to run the installer, and follow the instructions.
- Remember the installations directory. e.g. -> U:\Java_ME_platform_SDK_3.4
When the installation is complete,
the Java (TM) ME Platform SDK Device Manager icon appears in the Windows system tray.

- Unzip the downloaded
oracle-jmesdk-3-4-rr-nb-plugins.zip to a folder
e.g. oracle-jmesdk-3-4-rr-nb-plugins

How to activate Java ME support in NetBeans IDE?
- Choose Tools > Plugins from the main IDE's toolbar.
- In the Plugins dialog box, click the Installed tab and select Java ME in the list of available features.
- Click Activate.
- At the Welcome panel of the Installer dialog box, click Activate.
- When the activation is successfully completed, click Finish.
- Click Close to close the Plugins dialog box.
How to register Java ME SDK as a platform in NetBeans IDE?
- Choose Tools > Java Platforms in the IDE.
- In the Java Platform Manager dialog box, click Add Platforms.
- In the Add Java Platform dialog box, select Java ME CLDC Platform Emulator and click Next.
- Select the folder where Java ME SDK is installed in the Choose directory to search for platforms dialog box and click Open.
- Ensure the Java ME SDK platform is chosen in the Add Java Platform dialog box and click Next.
- After the IDE detects the platform, click Finish. Java ME SDK should now be registered in the IDE.
- In the Java Platform Manager dialog box, click Close.


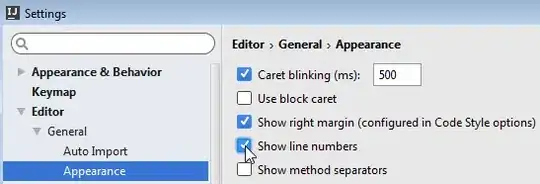
How to install the downloaded plugin
- Go to Tools -- Plugins -- Downloaded
- Click Add Plugins
- Navigate to the Plugin folder e.g.
oracle-jmesdk-3-4-rr-nb-plugins


enjoy the new program examples

Done
More Information wiki.netbeans


