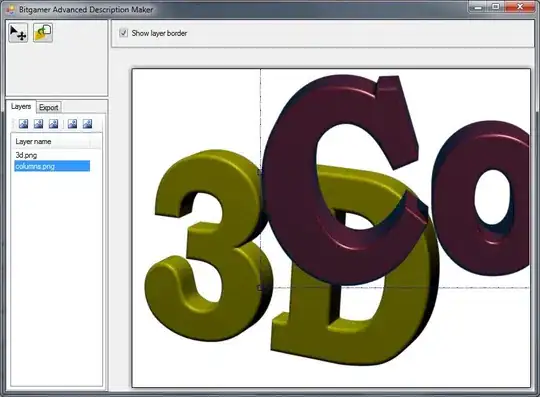
Taking into account that the provided example image is NOT a TIFF (as announced), and does NOT use a CMYK color space (as announced), but is a JPEG using sRGB, here is how you would convert it into a TIFF file using CMYK, where the black channel is used:
 convert                               \
    https://i.stack.imgur.com/HFnCz.jpg \
   -colorspace cmy                     \
   -colorspace cmyk                    \
    cmyk.tiff
To separate out the different colors again and show them as grayscale images each, use these commands:
 convert HFnCz.tiff -colorspace cmyk -channel c         -separate channel_c.png
 convert HFnCz.tiff -colorspace cmyk -channel m         -separate channel_m.png
 convert HFnCz.tiff -colorspace cmyk -channel y         -separate channel_y.png
 convert HFnCz.tiff -colorspace cmyk -channel k -negate -separate channel_k.png
I did output to PNG in order to keep the file size a bit smaller...
Here are the 4 color separations. Top left is C, top right is M, bottom left is Y, bottom right is K:

Update
I made a mistake in my original answer. The -negate command parameter should only be there for the blacK channel.


